Create an LXC container in Proxmox
Note: Replace
poolnamein all commands with your customer ID.
Create the container
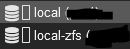
- Select local storage in the web GUI.
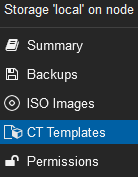
- Click CT Templates.
- Click the Templates button.
- Download Debian 13.
- Click Create CT at the top right.

- Enter a hostname and password. Make sure Unprivileged container and Nesting are checked.
- Click Next and select the downloaded template.
- Click Next – the default disk size of 8 GB is sufficient.
- Click Next and assign 2 cores.
- Click Next and set memory to 2048 MiB.
- Click Next and configure the IP address according to your network (or DHCP).
- Click through to Finish.
Mount the ZFS pool in the container
This only applies when using LXC on Proxmox.
Shut down the container first. Then edit the container configuration on the host (replace 100 with your container ID):
nano /etc/pve/lxc/100.conf
Add this line:
mp0: /poolname,mp=/poolname
The first /poolname is the path on the host, mp=/poolname is the mount point inside the container. Start the container again.
Next step: Install VersityGW and/or Syncthing.